Mission 14: The Breaking
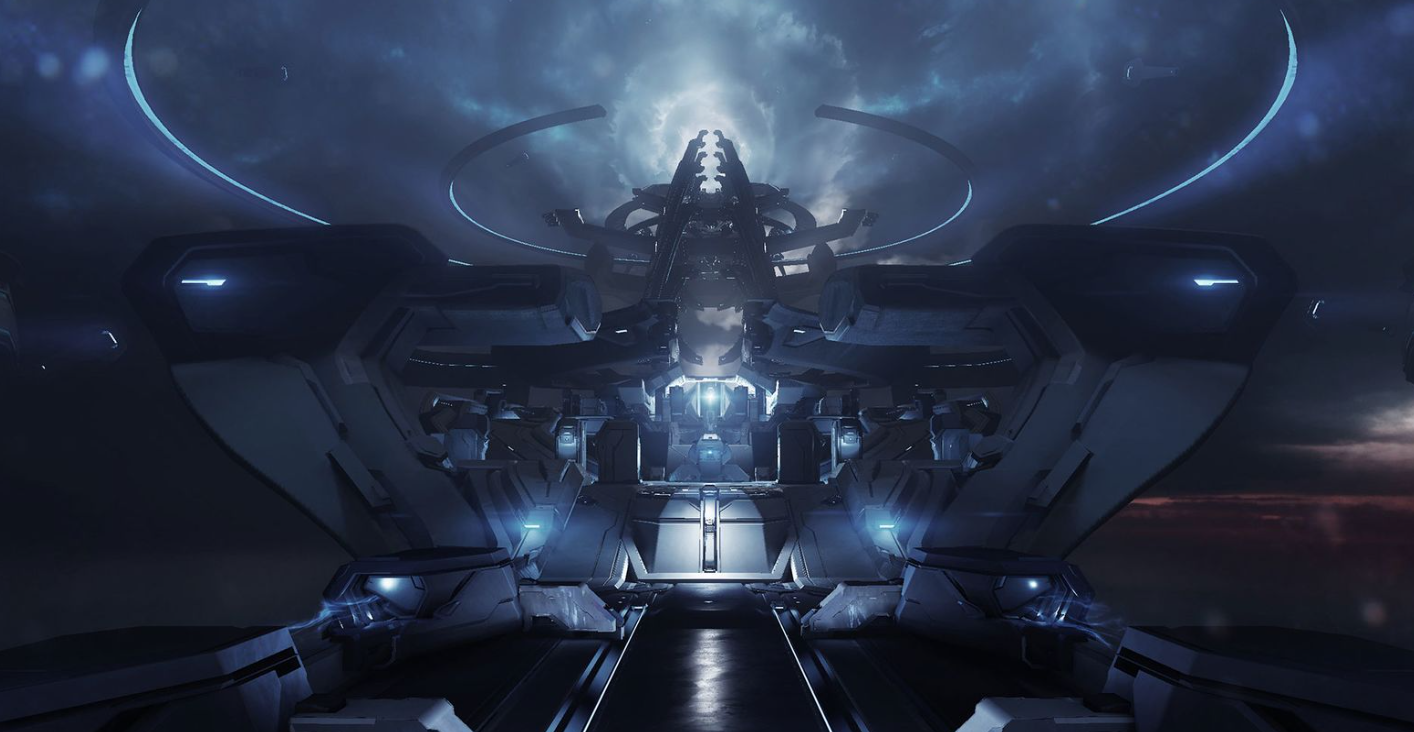
The Breaking follows Blue Team as they push to reach Cortana and confront the threat of the Warden Eternal. My work as a mission designer focused on creating dynamic Promethean combat spaces and late-campaign encounters that allowed players to engage the full breadth of the Promethean sandbox.
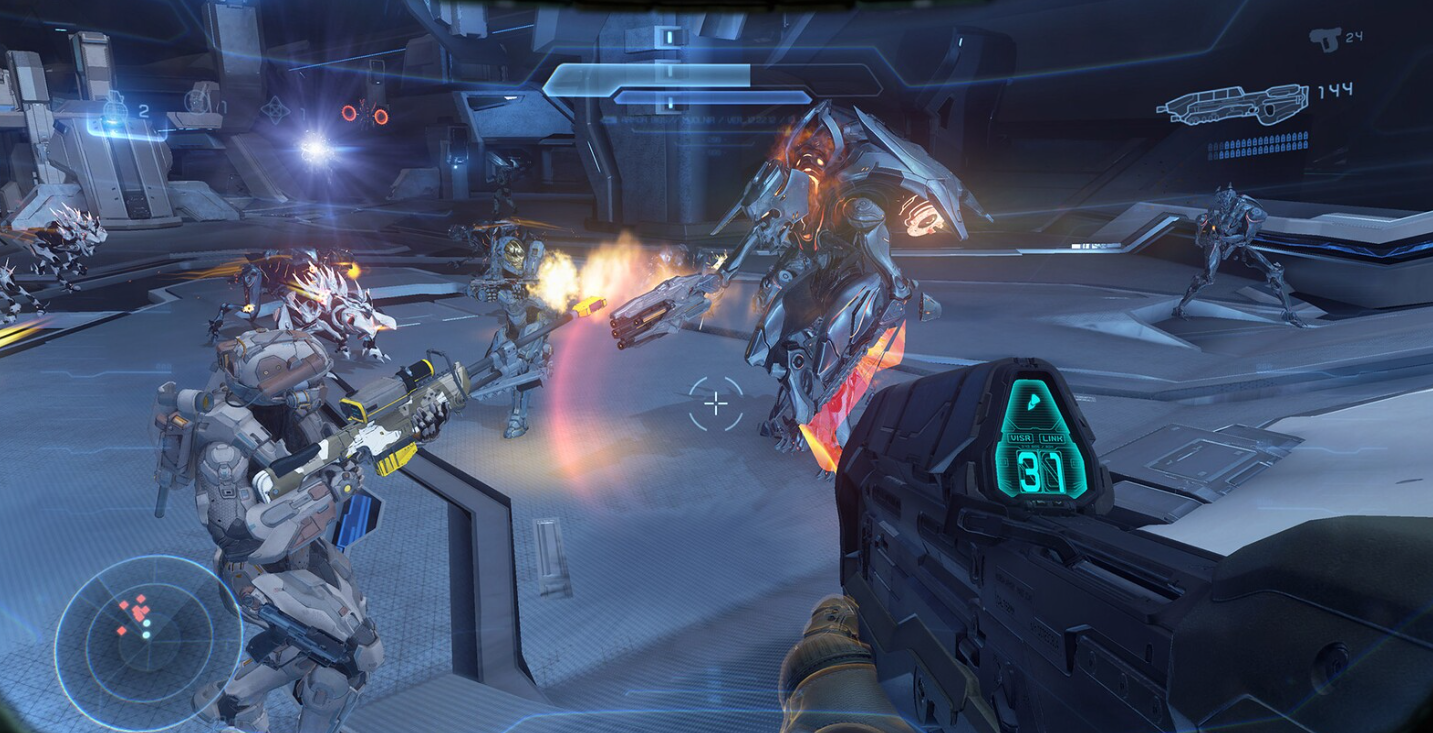
The mission begins after Fireteam Osiris and Blue Team briefly reunite inside the Forerunner Gateway. Cortana pulls Blue Team deeper into the structure, while the Warden repeatedly intervenes to delay their progress and test their resolve.
Structurally, the mission is a focused combat escalation, both literally and figuratively, with each encounter increasing in complexity and challenge while Players ascend through the Forerunner structures. Building on lessons from my work on “Shutdown,” and operating within similar resource constraints, this mission evolved our approach to space reuse, encounter layering, and managing the abstract architectural language we had established for Forerunner spaces.
The mission’s strength is how directly it builds friction and a sense of accomplishment. Each encounter sharpens the player’s need to manage squad positioning, weapon resources, revive opportunities, target prioritization, and the full Promethean threat hierarchy.
Overview
Encounter Highlights
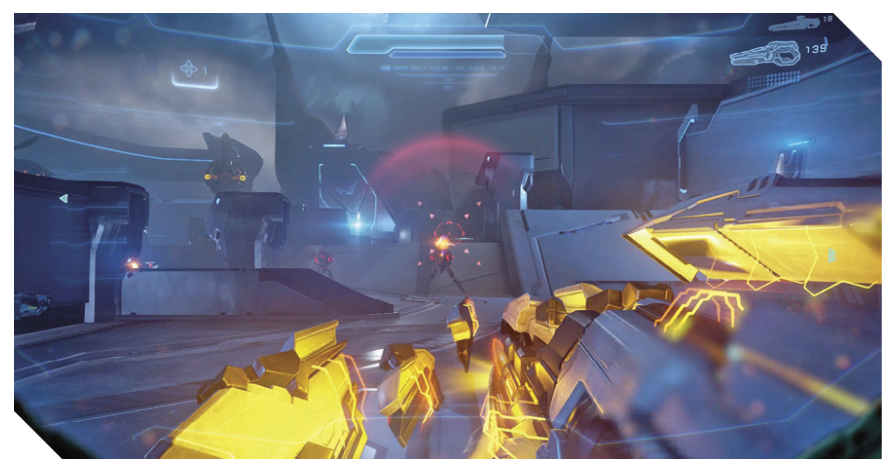
The Checkpoint encounter was designed as a mid-sized exterior battlefield where players assault a Promethean fortification. The goal was to create a space where players could exercise agency, experiment with Halo 5’s new abilities, and still maintain a clear read on combat fronts, enemy positions, and tactical opportunities.
The encounter take place on a broad snowy hillside leading toward a clearly defended exit, elevated ledges, flank routes, breakable ice walls, and mid-range sightlines to support multiple approaches. Players can hold high ground and dismantle Promethean forces from range, push the main path alongside the Covenant, or use side routes to flank entrenched Soldiers and turret positions.
The level design also supports the player's new traversal verbs. Clamber routes, Spartan Charge paths, Ground Pound opportunities, and elevated sniper perches encourage players to explore the space vertically instead of simply advancing down the main path.
The strength of the encounter is that it lets players choose their own level of friction. Cautious players can use range, cover, and squad positioning to control the fight methodically, while aggressive players can push into the lower battlefield and create more volatile combat moments.
Bridge
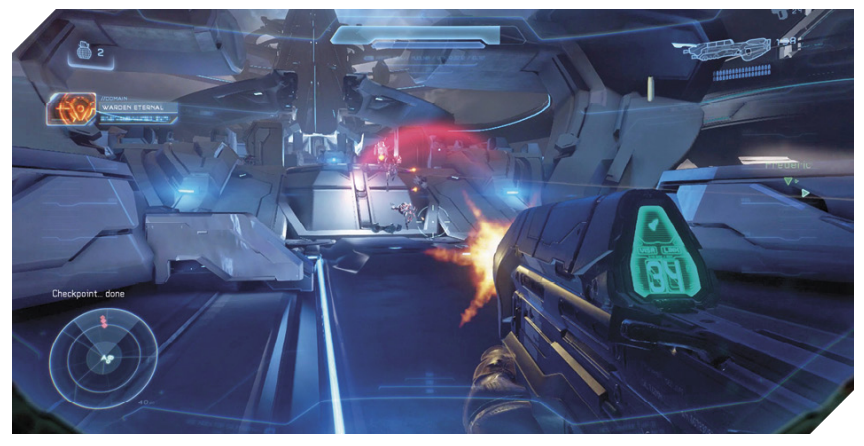
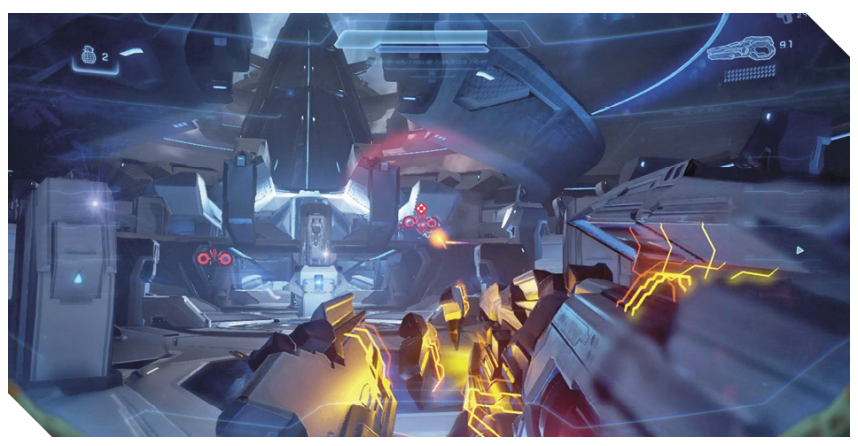
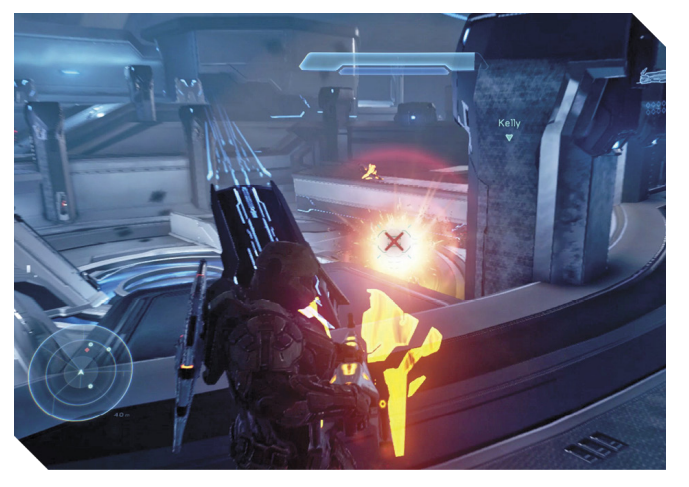
The Tower continues the mission’s linear progression, but introduces a more layered combat structure. The Warden blocks the player’s advance by spawning immediate close-range Crawler pressure, then expanding the fight into mid- and long-range threats through Soldier variants, elevated positions, and turret pressure.
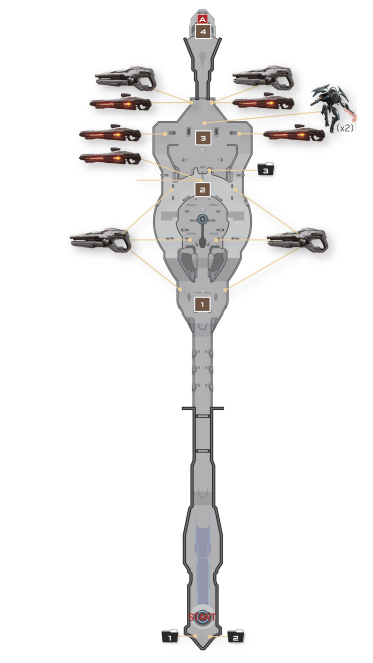
The design goal was to create a more tactical arena that asked players to manage vertical pressure, target priority, and weapon economy. Placed weapons provide a broad but intentionally limited toolset, giving players meaningful answers to the encounter’s more demanding combat asks without removing the need for smart positioning and execution.
The ramps, barricades, upper level, and entry tunnel create a strong push-pull rhythm. Players can hold the entrance to control risk, push forward to secure power weapons, or use side routes to flank and quickly collapse on priority threats. The fight is not simply about clearing enemies; it is about reading the space, managing aggression, mitigating enemy reprisal, and deciding when to conserve resources versus when to commit.
Tower
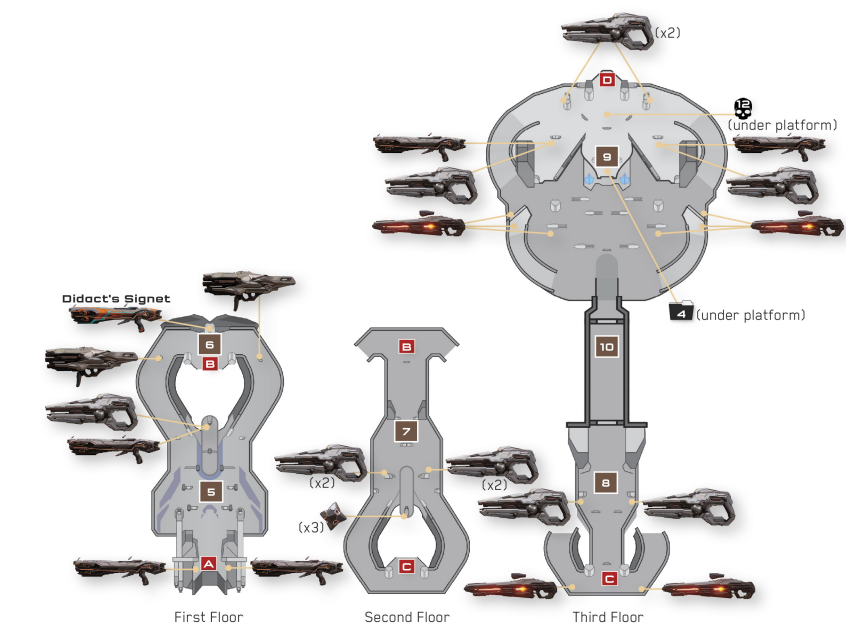
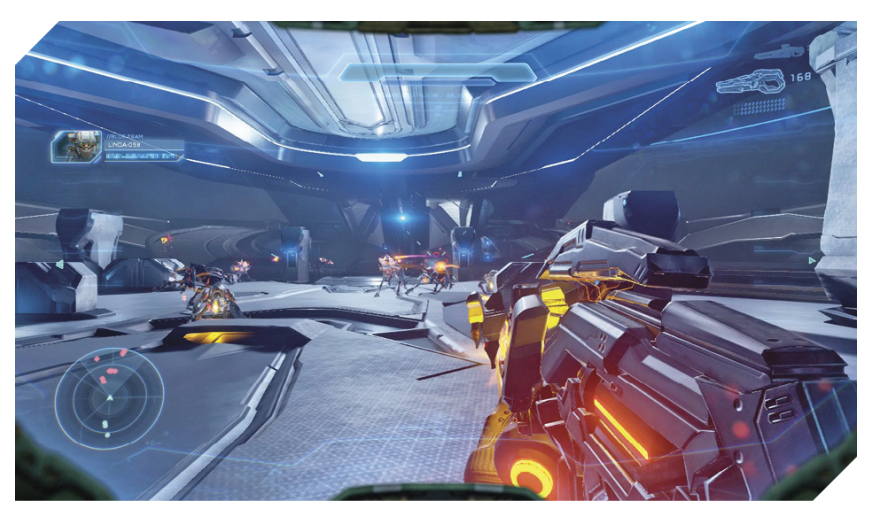
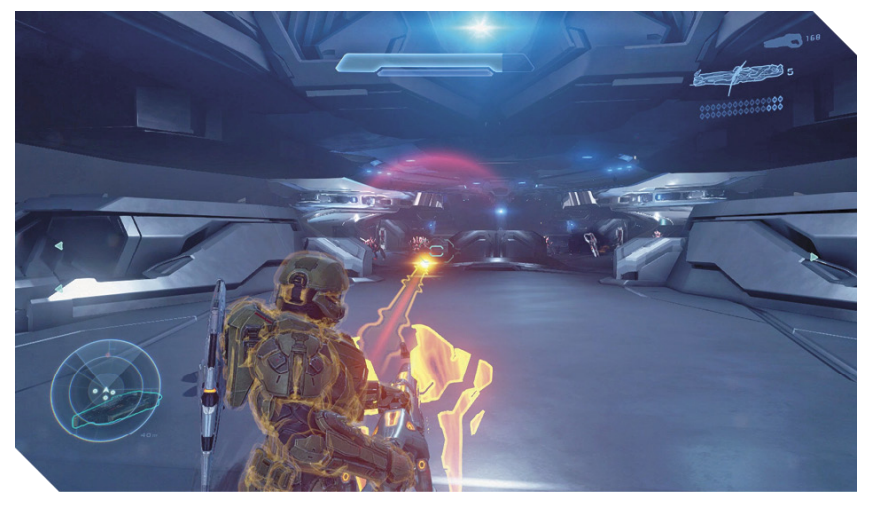
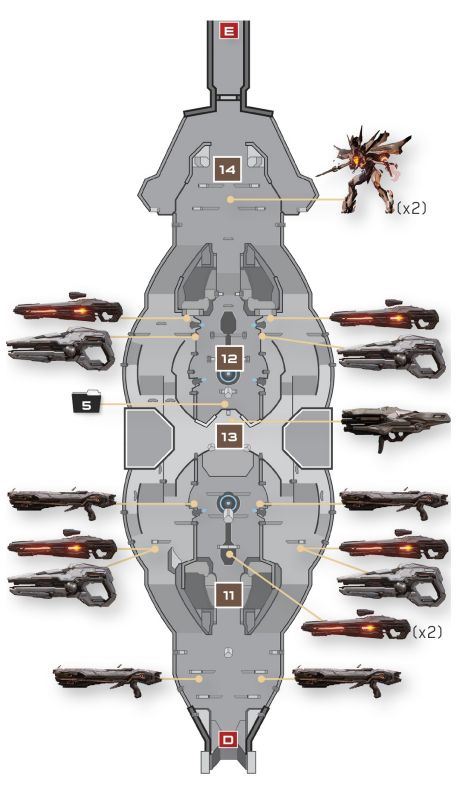
The Warden’s Horde is the mission's final non-boss climax of the mission and one of its clearest statements of late-game difficulty. After repeated setbacks, the Warden escalates to extreme measures throwing everything he has at Blue Team.
The goal of this encounter was to create a demanding final test in a cool space built to let our combat shine. It has heavy combat asks built around skilled precision, positional discipline and resource management. The large linear arena gives players room to move, but never allows them to feel safe for long as enemies push on players who lag behind cover.
Power weapon placement is a critical pressure valve for the structure of the fight as players must utilize them on high priority targets or contend with much higher spikes of friction than they are used to. The man cannons placed in the geo also act as a tool players must utilize well to quickly reposition, escape pressure, or create high-risk openings. This encounter in particular rewards players who can manage battlefield awareness while taking advantage of opportunities as they emerge.
Warden’s Horde